We’re often asked by our brides and grooms for some tips on how to make the most of their venues or to give them a little help with their wedding plans. Luckily, the Jacaranda team have learnt a thing or two about creating beautiful weddings in our experience, so hopefully we can share some of our knowledge here on the blog. Today Nickie takes a look at how to create stylish Halloween decorations.
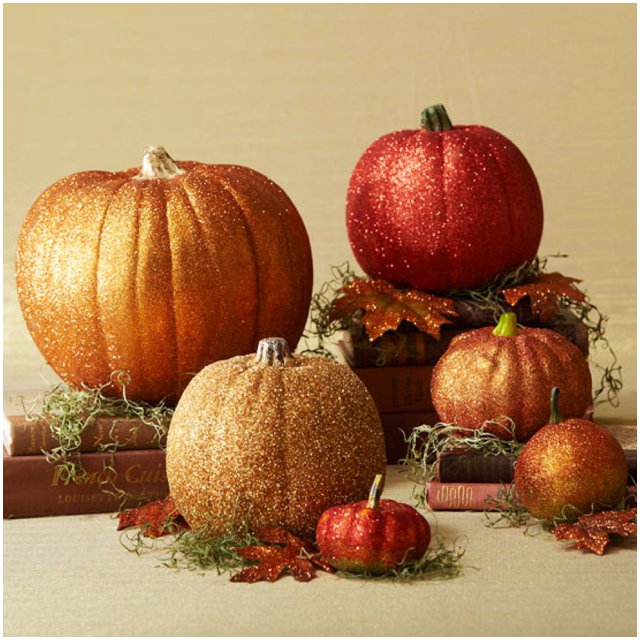
Image credit – bhg
A wedding at Bury Court Barn in Surrey on Saturday 19th October has really inspired me to think about the time and energy that goes into theming a wedding. With Halloween just around the corner, our Bury Court bride decided to incorporate pumpkins into her table decorations.
This got me thinking about a dinner party I was hosting and what a great way to use local seasonal produce which is easily accessible, versatile, and above all cheap.
Whilst researching creative pumpkin carving, I came across some really easy tips online to make some incredible centrepieces for the table – be it a small dinner party for 10 or a wedding for 150.
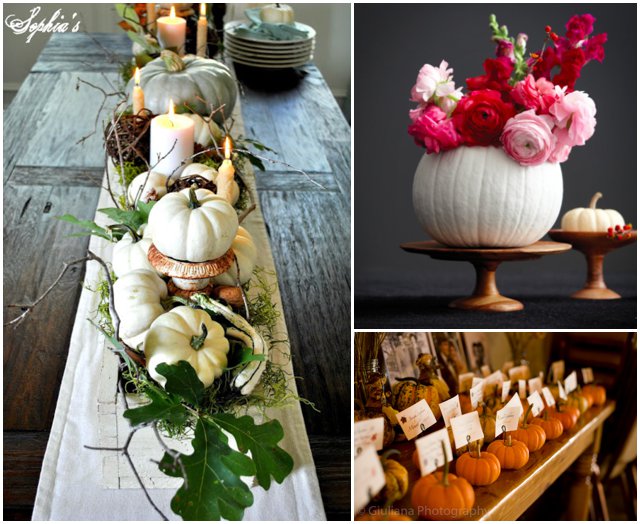 Image credits –Sophia’s Decor, Chatelaine, danaphoto
Tip One
Look for local suppliers of pumpkins. We have a great one near us in the village of Slindon, West Sussex, where you are more likely to find a larger variety on offer, as opposed to the supermarkets.
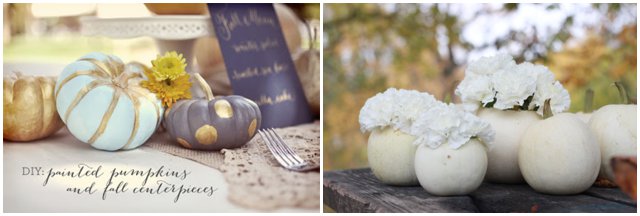 Image credits – mrsqdesignstudio, brooklynbride
Tip Two
Paint them! Whether you are thinking traditional, subtle colours or vibrant rainbow colours, painting a pumpkin is the quickest and easiest way to create a pretty decoration. Simply wash the pumpkins with a baby wipe and allow to fully dry. You can use any kind of paint but oil based ones work best.
Tip Three
Carve them! Slice the top off, being careful to keep the stalk intact. Scoop out the flesh and pulp (a soup spoon works perfectly for this). Draw your design onto the pumpkin, ideally using a fine pen and then use a scalpel to cut out your design.
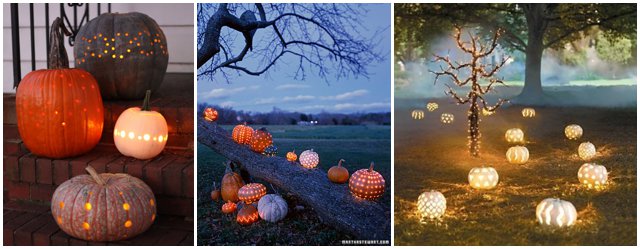 Image credits – 17apart, marthastewart, fagandoor
Tip Four
Drill them! Prepare the pumpkin just as you would for carving, but instead of using a scalpel, use a drill to make perfectly circular holes of all different sizes along the body of the pumpkin. I found this fab ‘How To’ guide for drilling pumpkins that might be useful.
Tip Five
Pin them! Either keeping the pumpkin whole or hollowing it out, using brass drawing pins to create patterns in the flesh of the pumpkin for a really effective design. Again, I found this really helpful ‘How To’ guide in the art of pinning.
 Images credits – madiganmade, 17apart
Tip Six
Doily them! This is a really simply, yet extremely effective and quick way of decorating. You can accomplish very intricate designs within minutes. All you need are some paper doilies (the thicker the better) and stick them to the pumpkins being sure to use strong adhesive to create a smooth effect. I love the ‘How To’ guide which explains the process, but you can also use a doily as a template to spray paint a lace effect on to your pumpkins as well.
Hopefully this guide will have given you some inspiration on how to keep your Halloween themed celebrations classy and maybe give old Jack-o’-Lantern the year off…